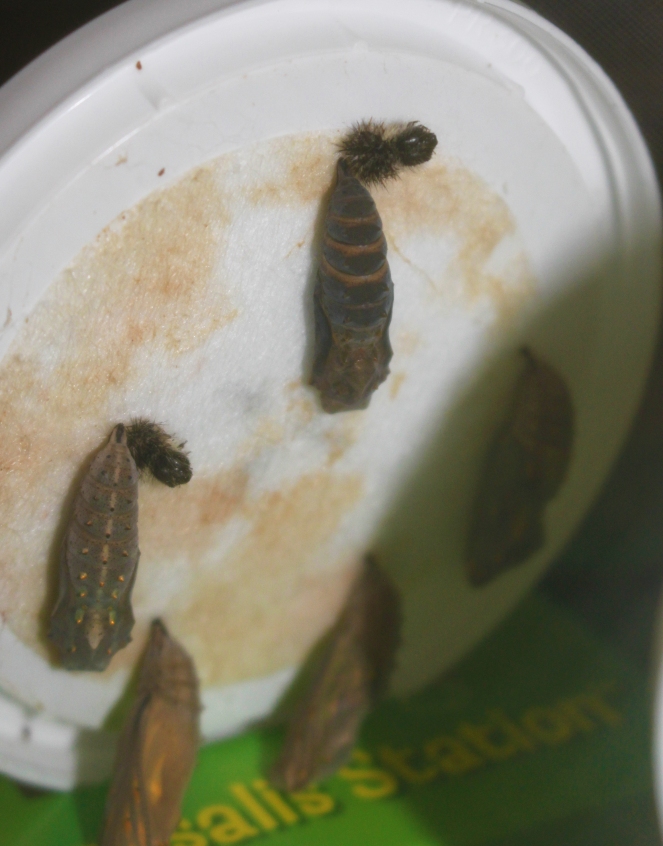
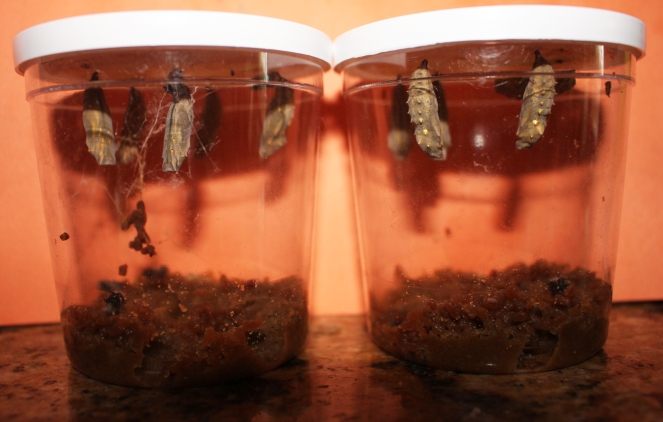
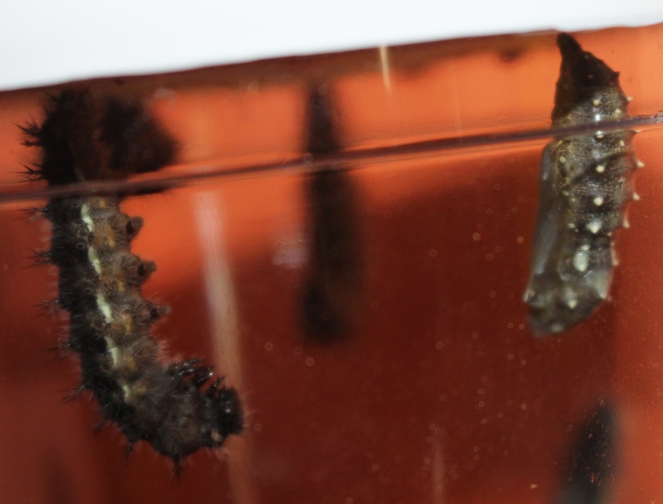
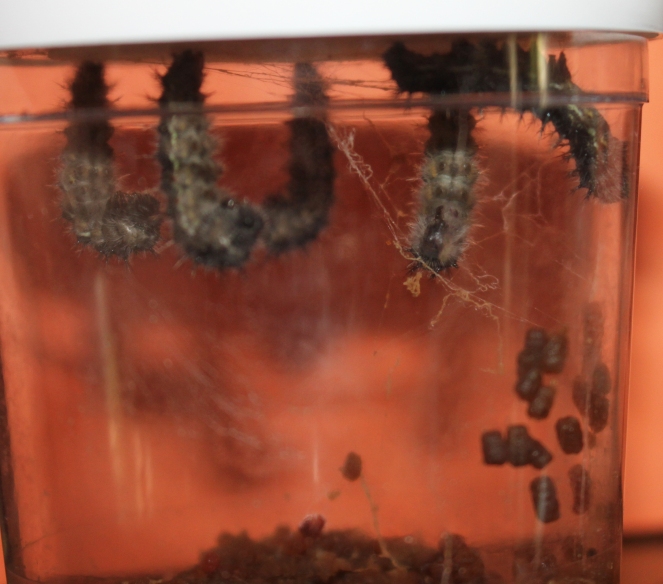
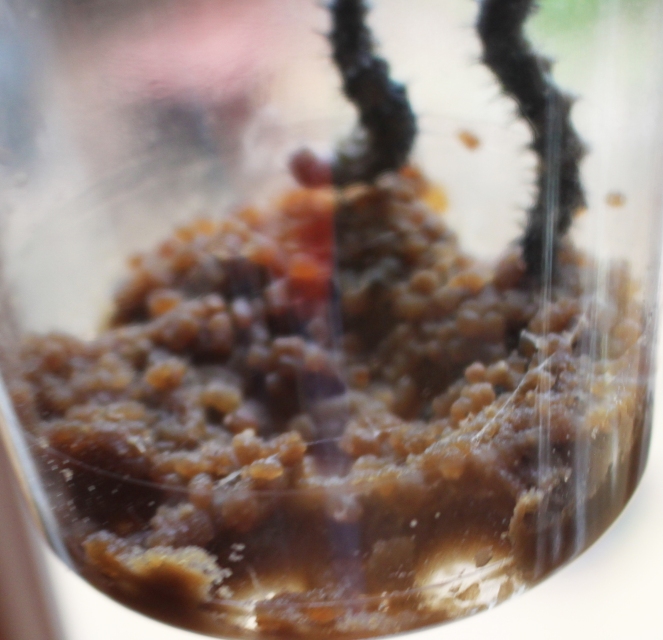
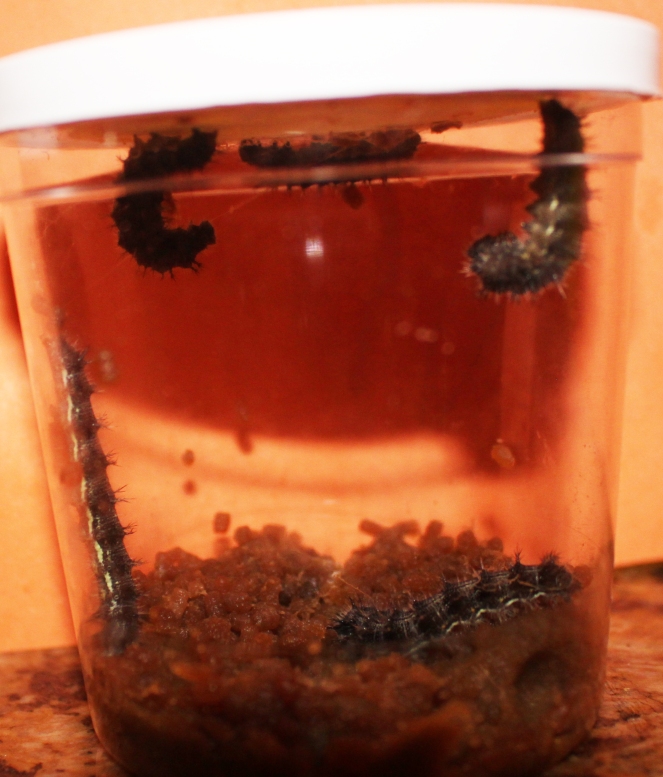
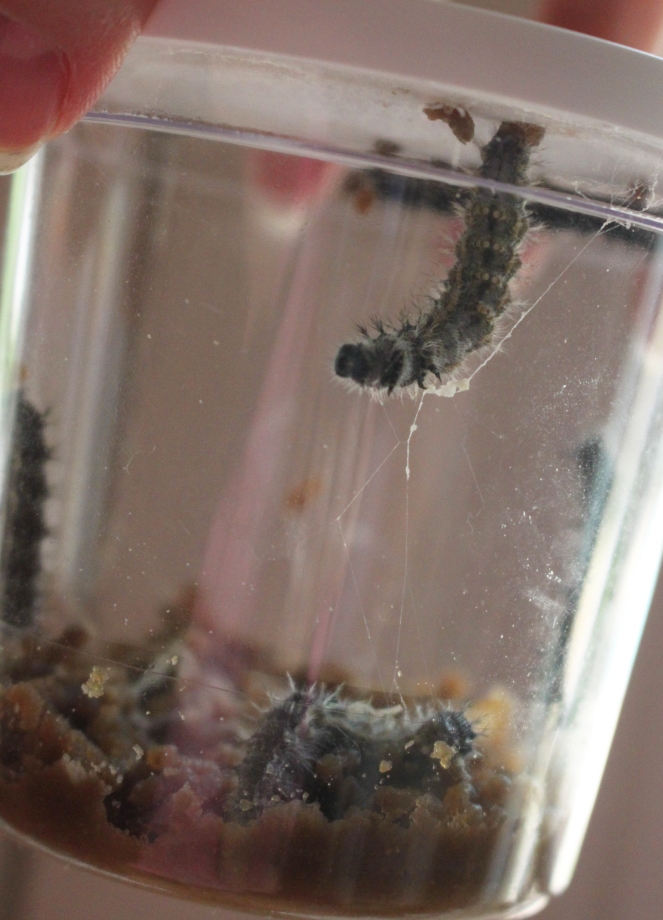
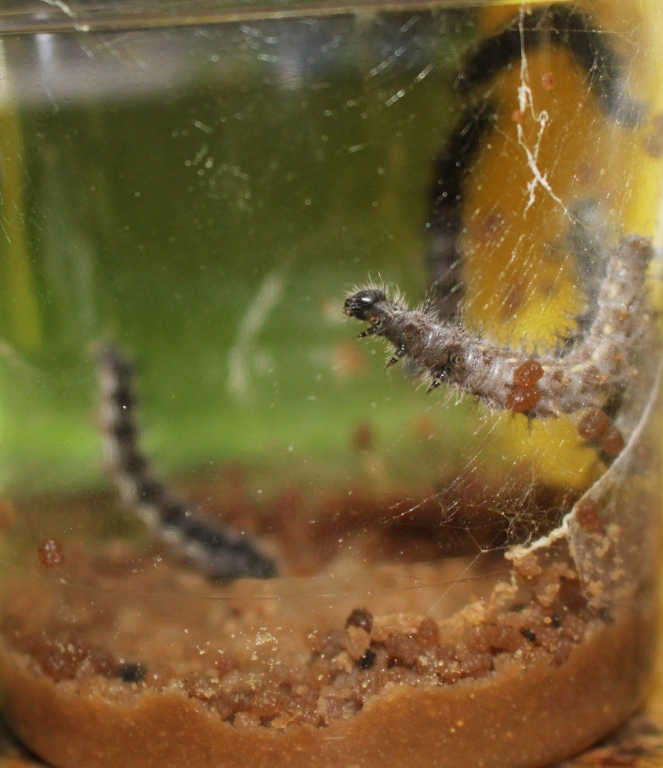
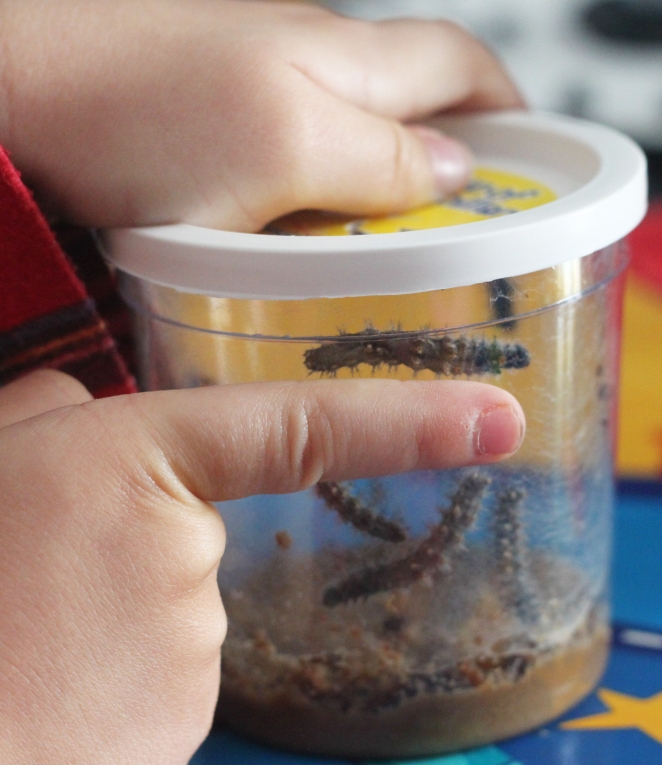
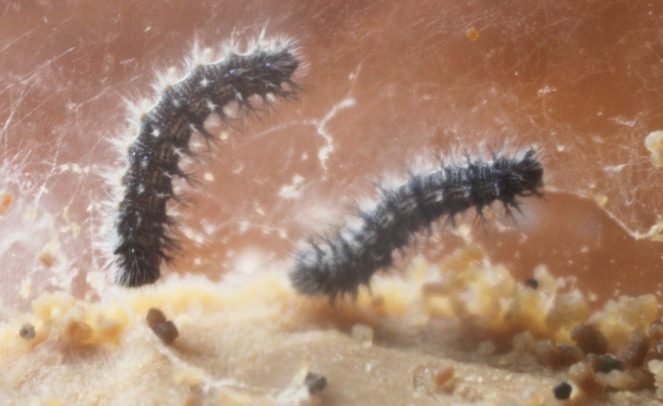
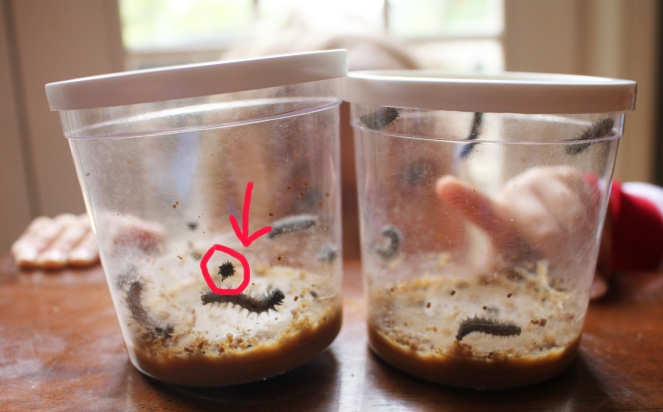
We have butterflies!! All ten of our caterpillars from our Live Butterfly Kit became butterflies. We even saw two butterflies emerge from their cocoons today. It was amazing and both the kids enjoyed the experience of the metamorphosis process.
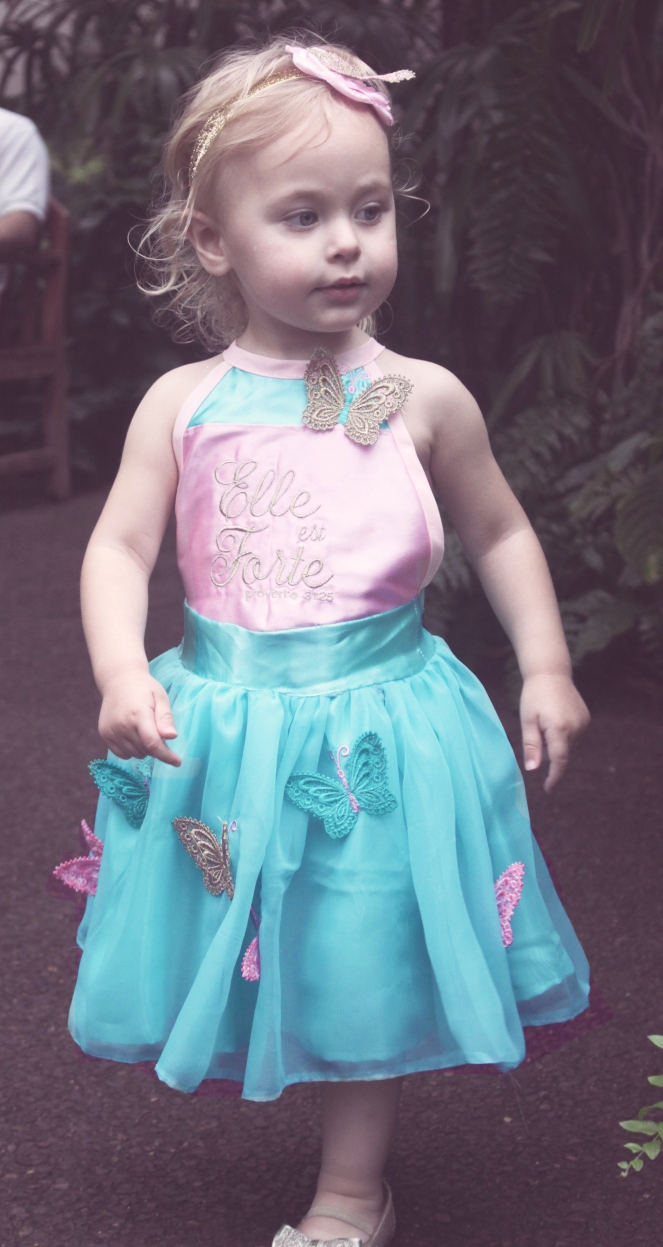
This dress started a little differently than I had planned. I had originally almost finished my daughter’s birthday dress, when I decided with all that hard work, I couldn’t let her eat cake in her dress, so I started a second outfit for her the day before her party.
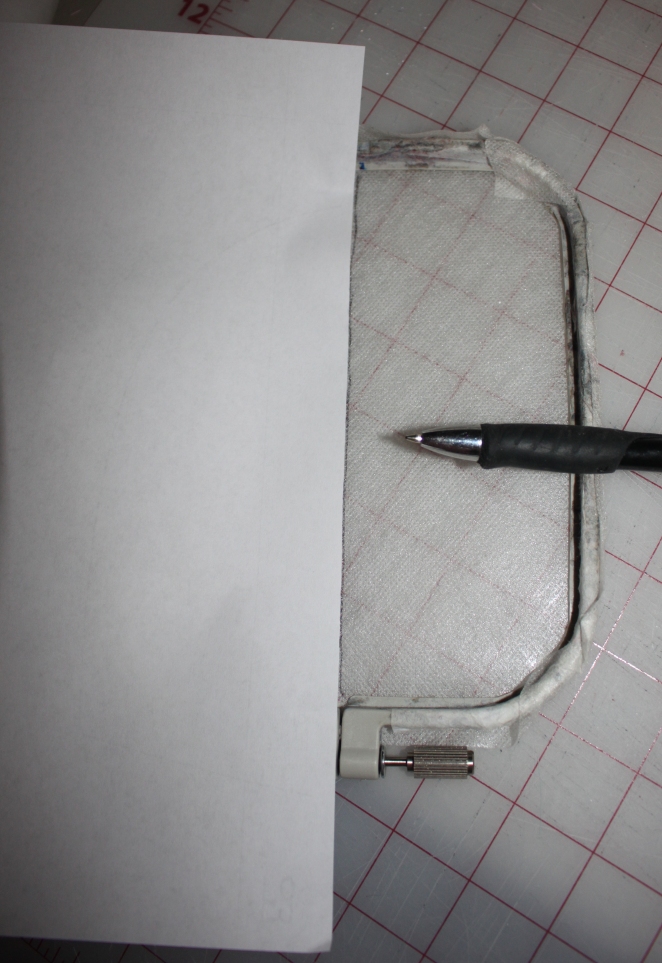
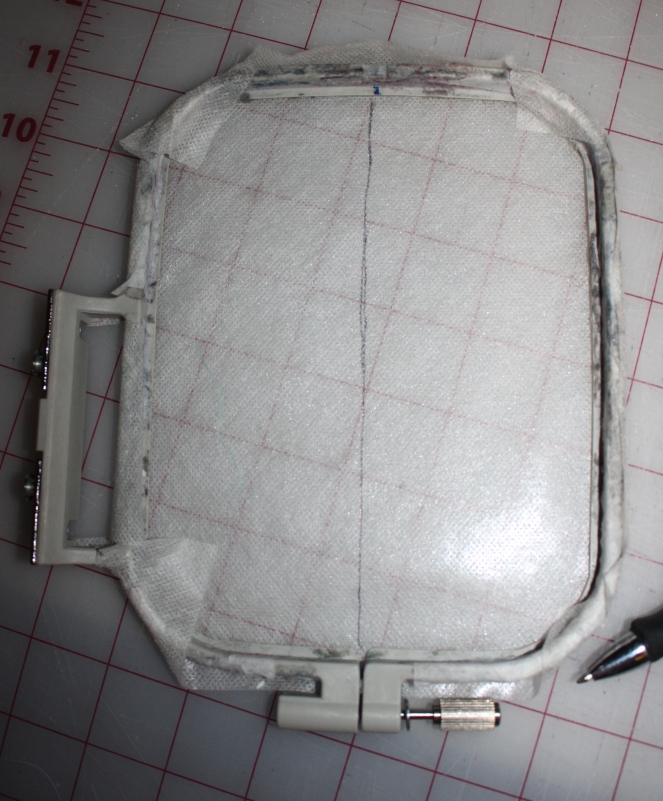
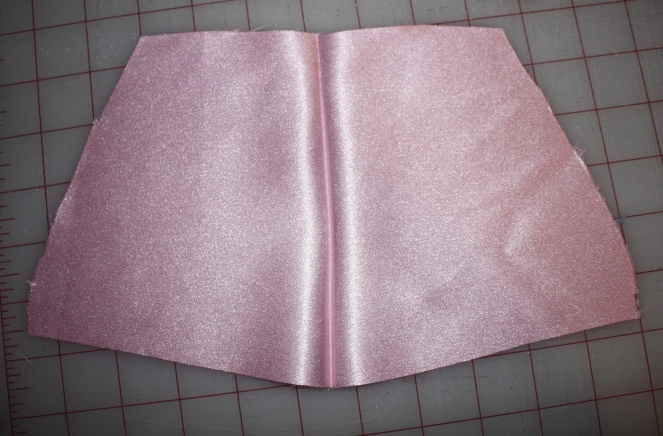
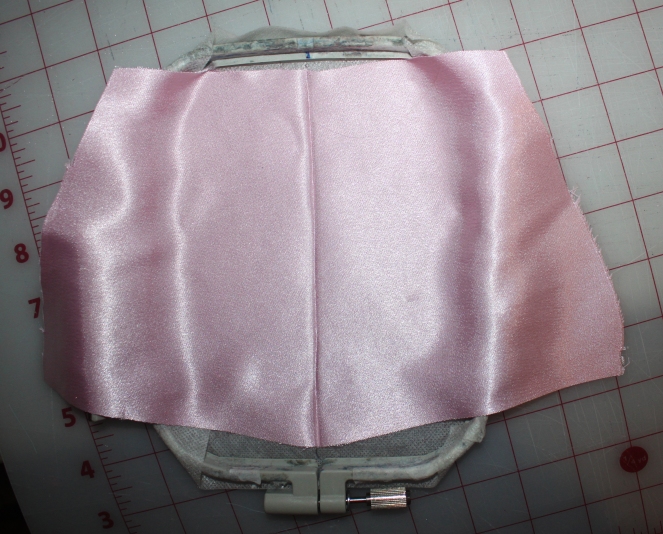
I thought to myself I will just make a quick plain Haven Romper from Violette Fields Thread (VFT). I already had made a few of these in the past therefore I had the pattern cut out and on hand. After cutting out the bodice, I decided, maybe I should put a little embroidery on the front bodice??? You can reference my post on How to Center Your Embroidery Design Every Time.
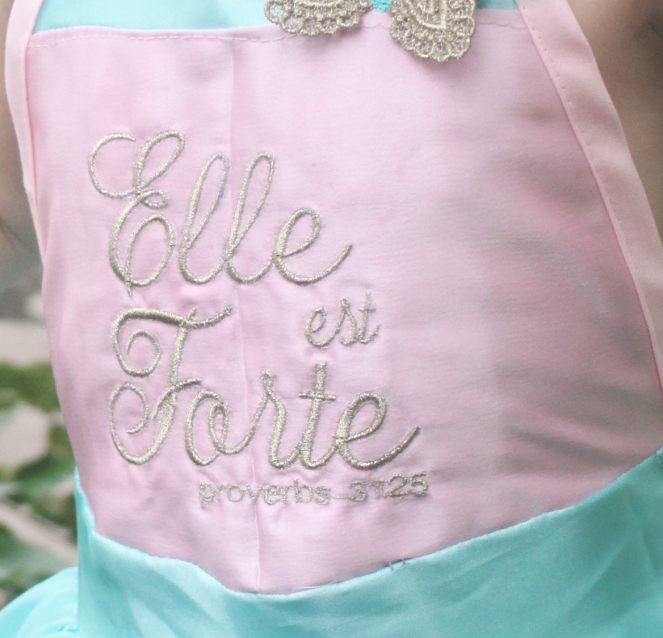
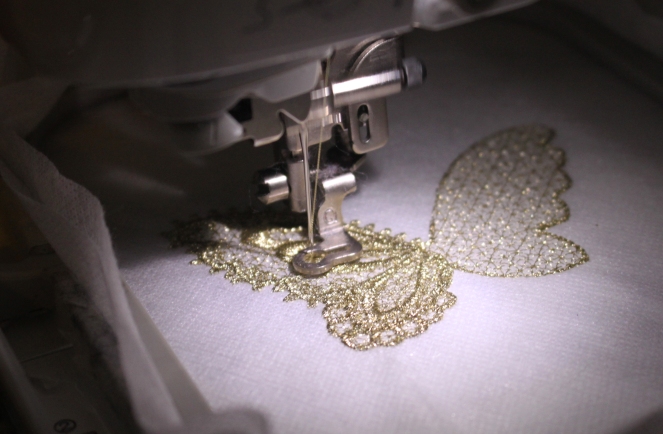
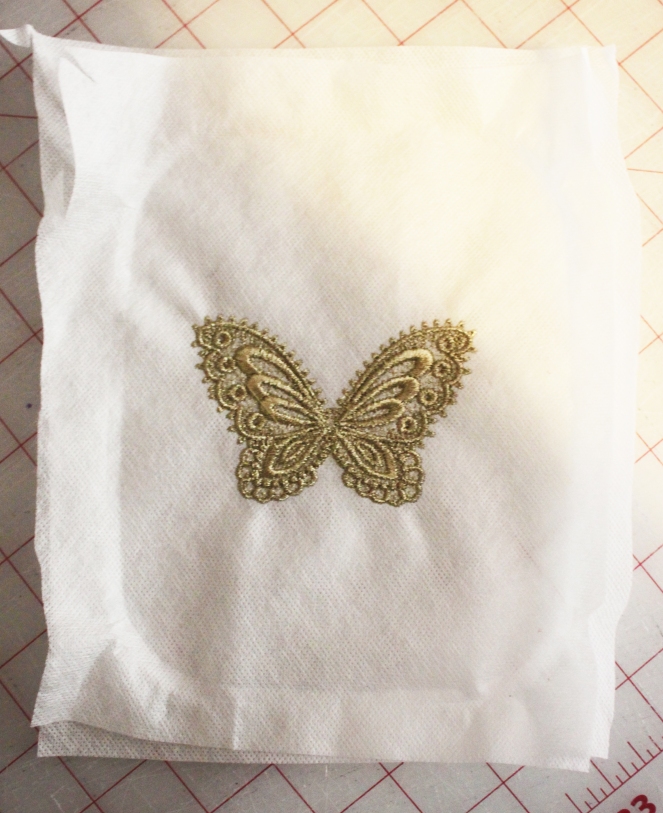
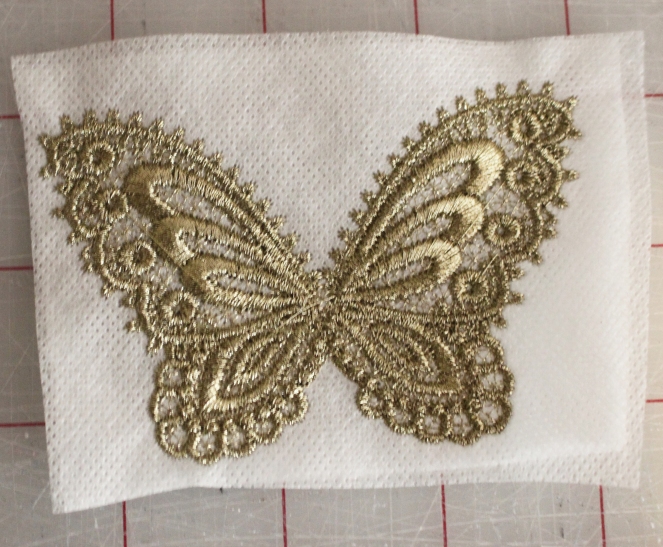
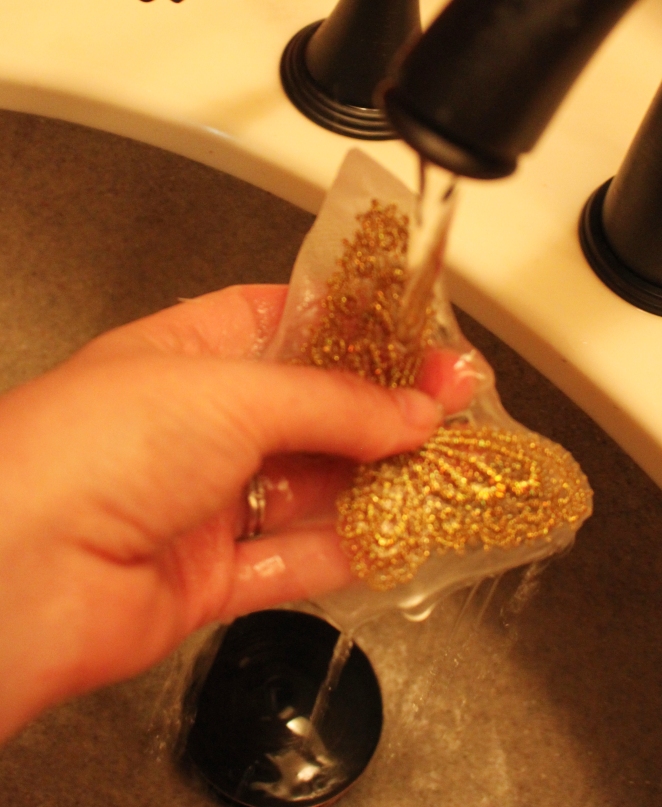
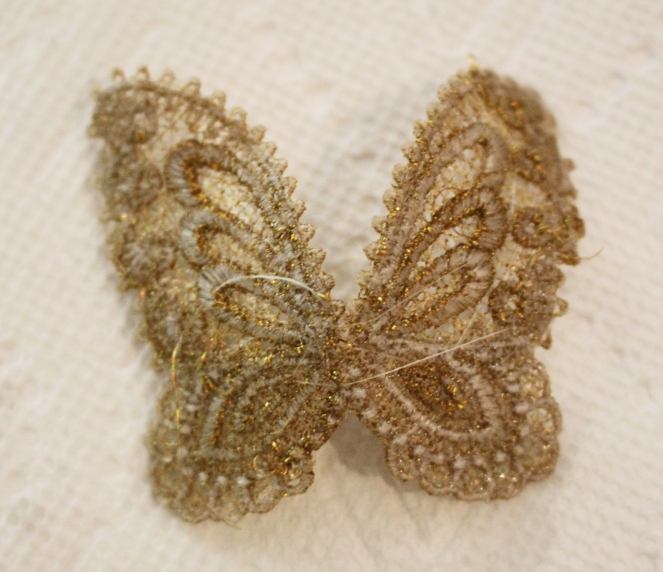
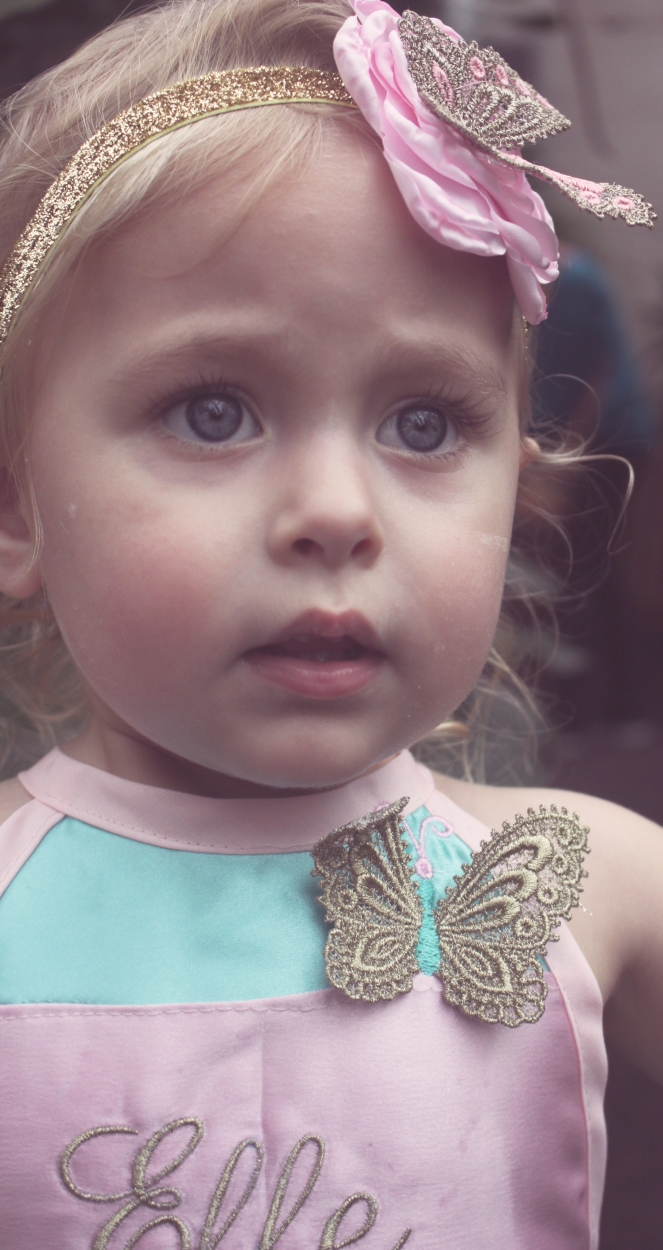
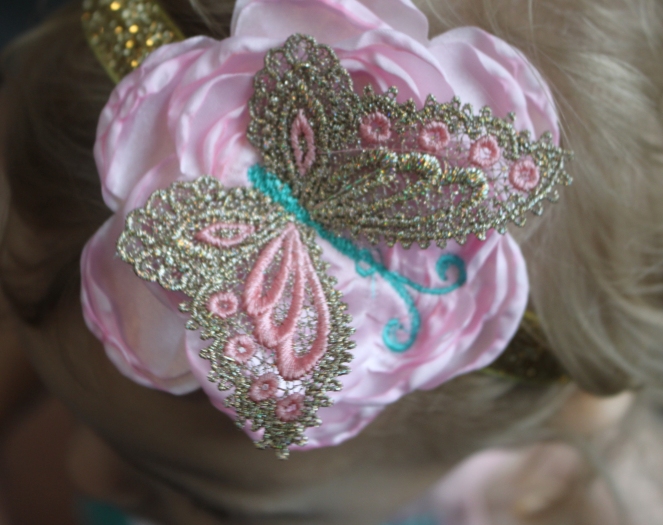
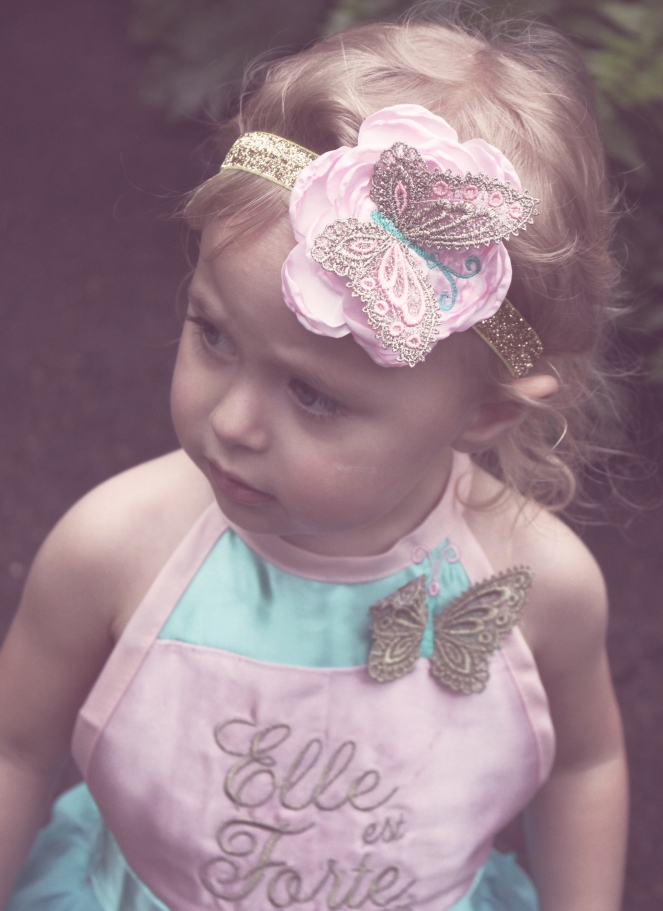
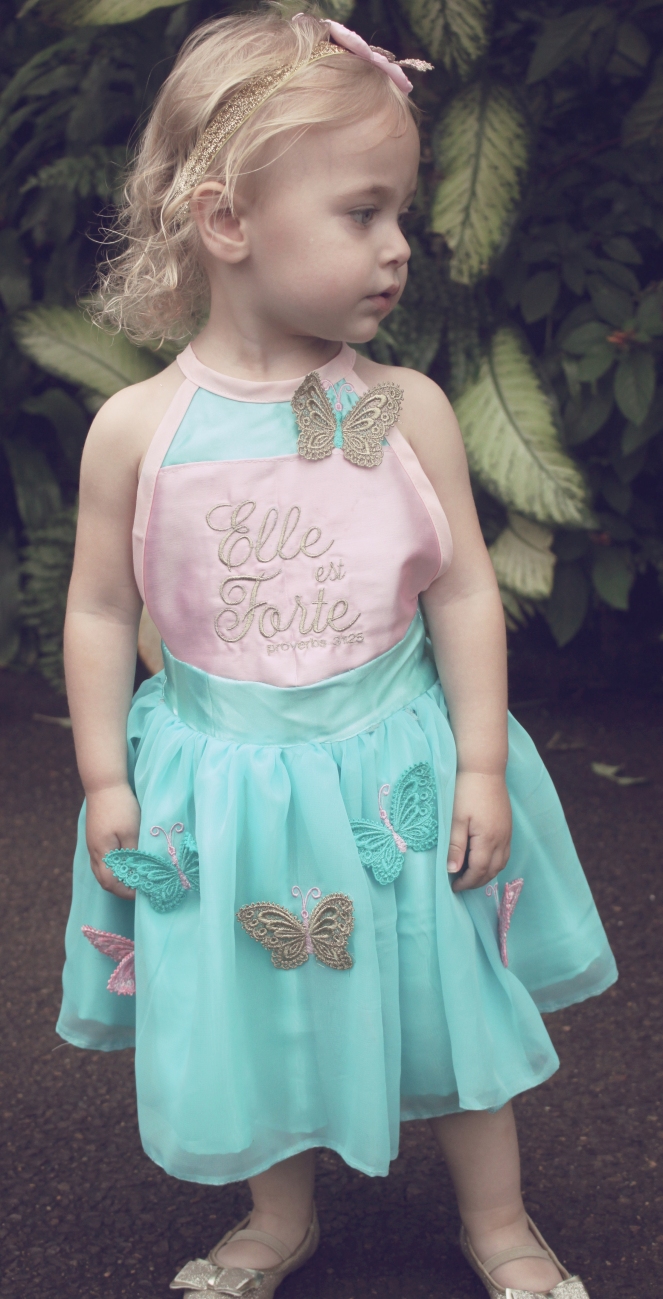
I had made some gorgeous free standing lace (the fsl butterflies embroidery design can be found by artapli on Etsy) for her original butterfly birthday dress, however I was not fond of the colors I had made. They did not quite match, so I decided I would just add a few free standing lace (fsl) butterflies to her romper. Please feel free to reference my previous post on How to Make Free Standing Lace. I thought it over for a bit and decided fsl butterflies might look a little silly on shorts. I had always wanted to try the Haven Skirt version with a chiffon overlay! So I decided to go for it. I would attach the fsl butterflies to the chiffon overlay of the skirt, one on the bodice and one on the headband.
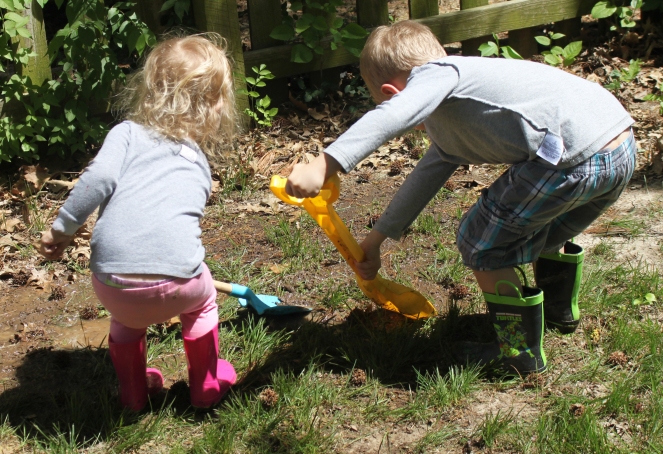
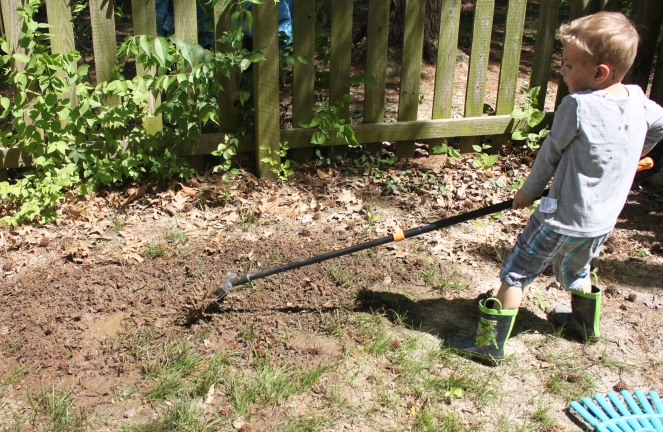
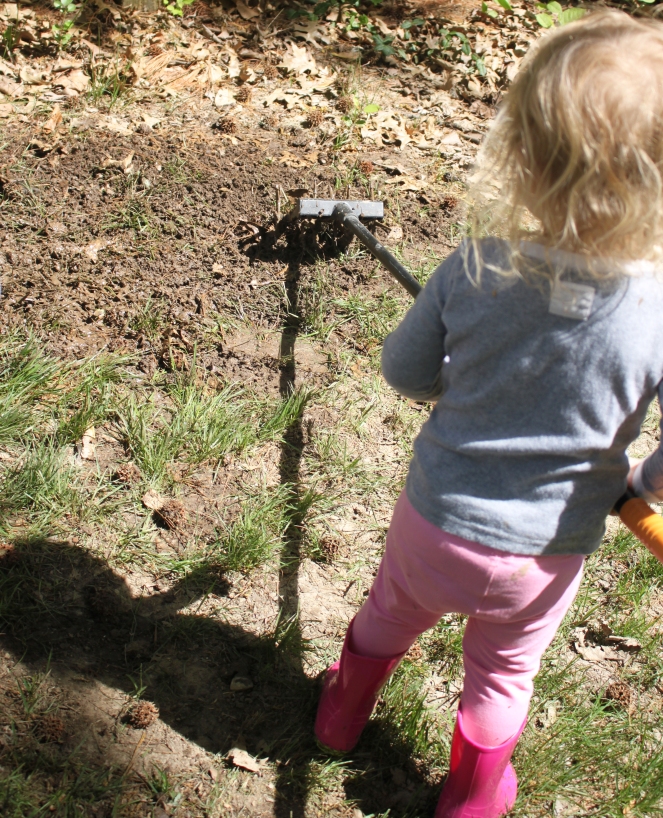
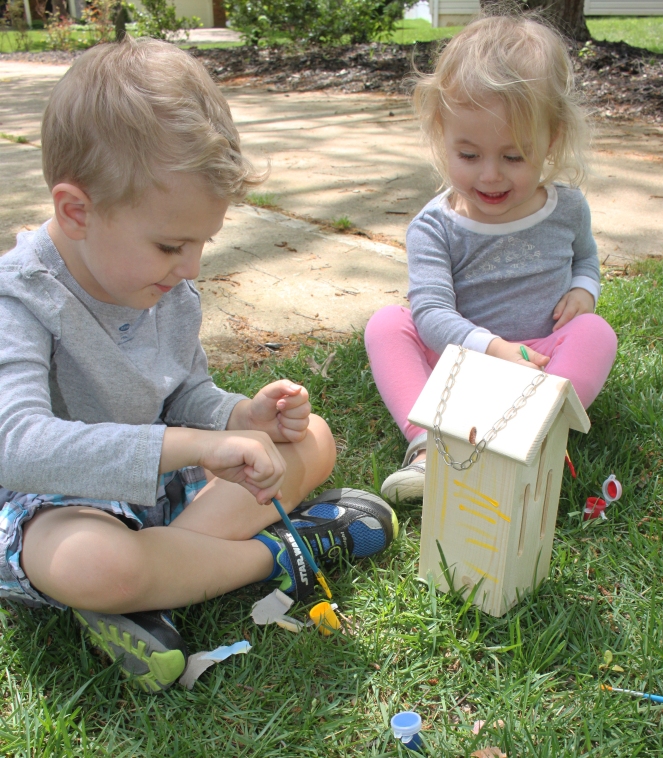
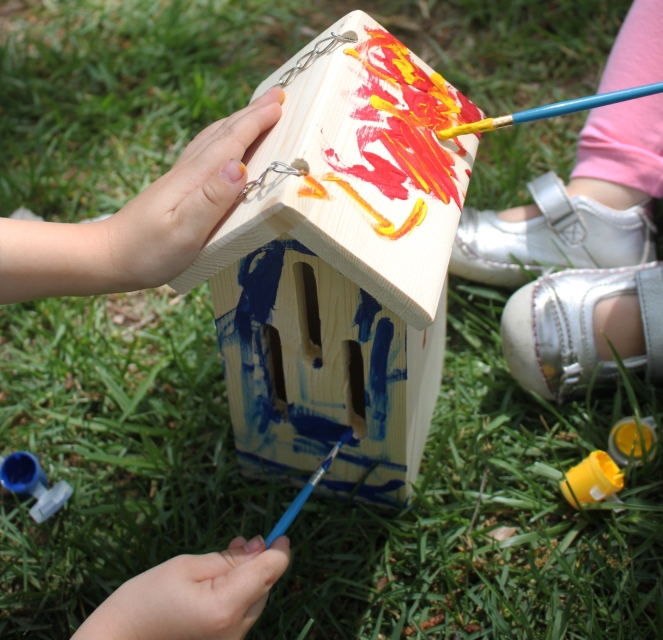
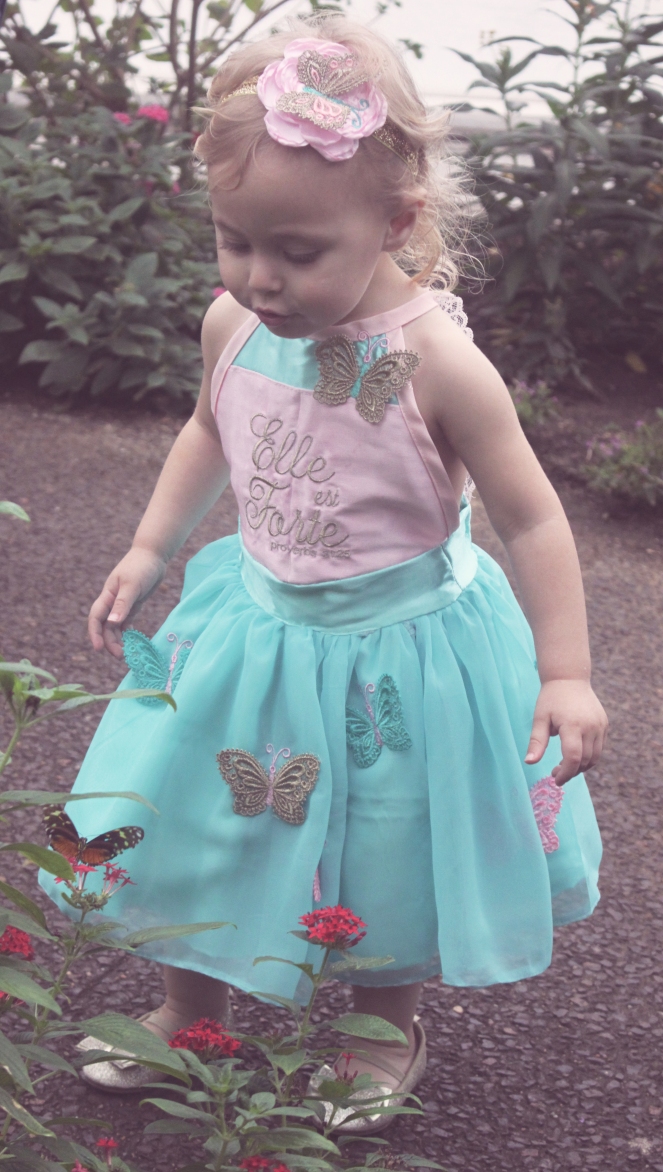
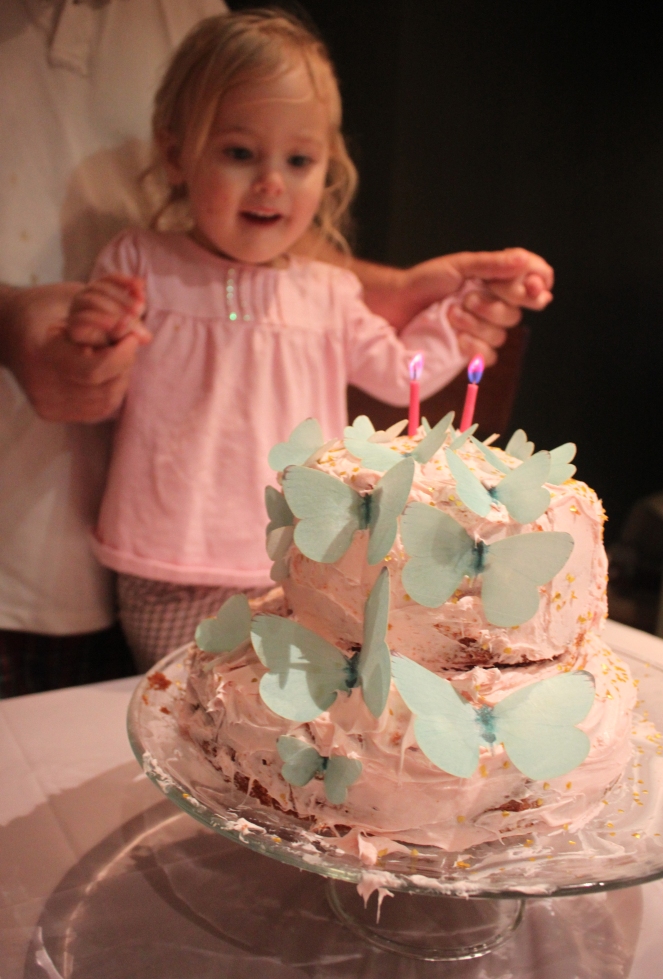
So much for my simple romper she could eat in. Oops. She cannot eat cake in this dress either. I worked on this dress till the last-minute. We had cancelled her party earlier in the week due to sickness, however she was feeling fine. It was a rainy day, so we took the kids to the butterfly house and had a marvelous time.
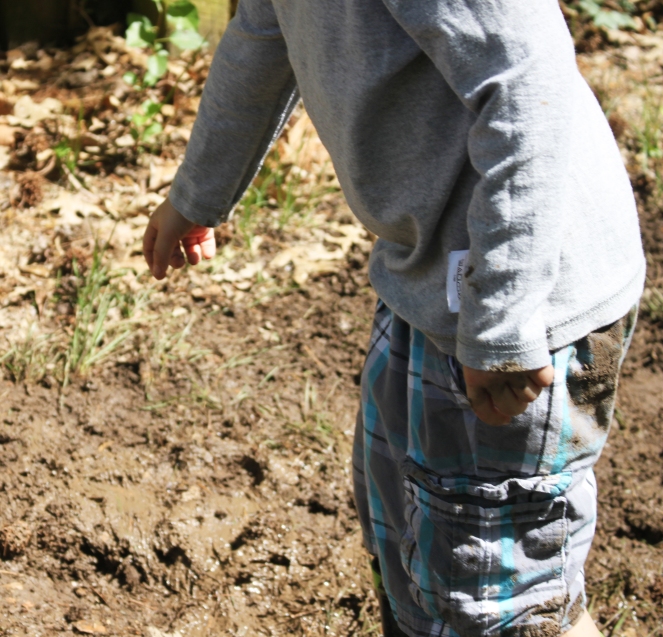
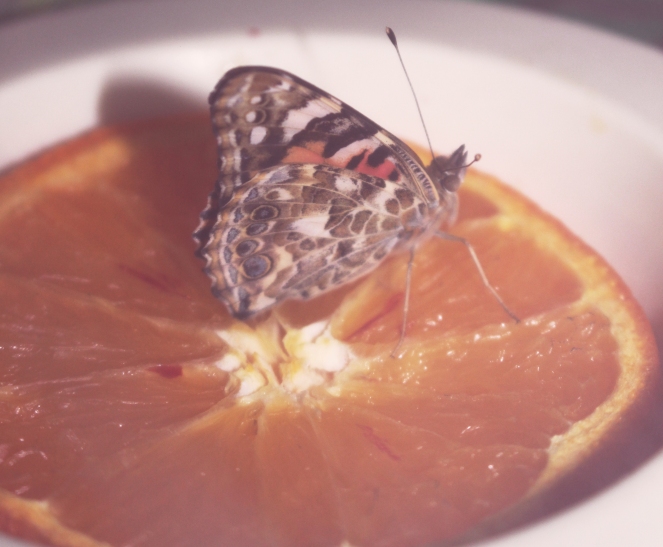
We absolutely love the butterfly house, it gives them the chance to see butterflies close up and it is fun to do on a day full of thunderstorms. Baby Girl was super excited every time she found a butterfly!
I just love the vintage look of the Haven Dress by VFT. I have made several rompers and now the dress version. I see MANY MANY more in our near future. Once I make a pattern and I like it, I usually recreate in a new way. Okay, Okay, I already have my next one planned. LOL
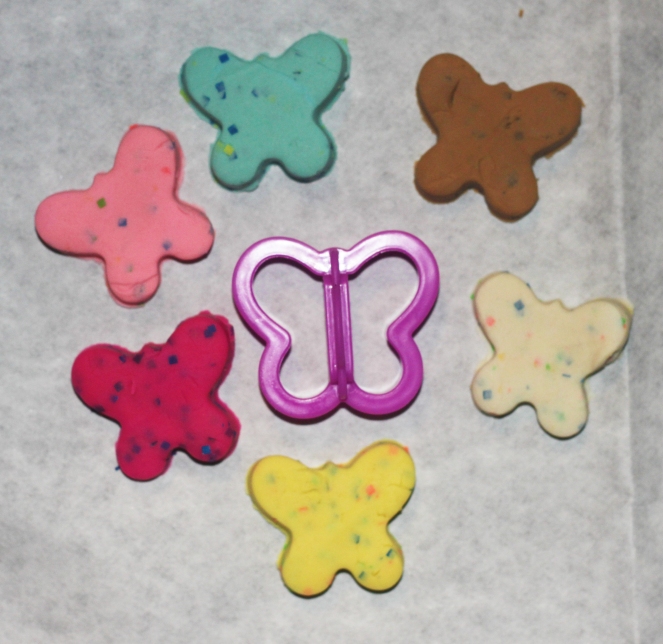
So came the true dilemma….. What will she wear to eat cake? We just put her in some of her every day clothes and it was just the 4 of us and the cake my son helped me bake and Baby Girl helped me decorate. Okay, I decorated while she ate the frosting. The cake may look like a Pinterest fail, however she loved it! The pre-made edible butterflies definitely made the whole cake and the edible hearts sprinkles were pretty awesome as well. Oh and for the girl who said she wanted “Pink” for her birthday, I found her pink candles that glow pink too!
The Photoshop actions used for the dress pictures are Tea Party by A Whimsical Pixel on Etsy. I love the vintage look of these Photoshop actions, they went very well with the vintage style dress.
Supplies in this post:
- Haven Skirt and Romper Pattern
- Pink Bias Tape (Or you could make your own)
- 1.5 Inch wide Elastic
- Chiffon Fabric (I bought mine from Joann)
- I used remnants for all my fabrice, since I made a 2t size
- Gold Elastic for the headband
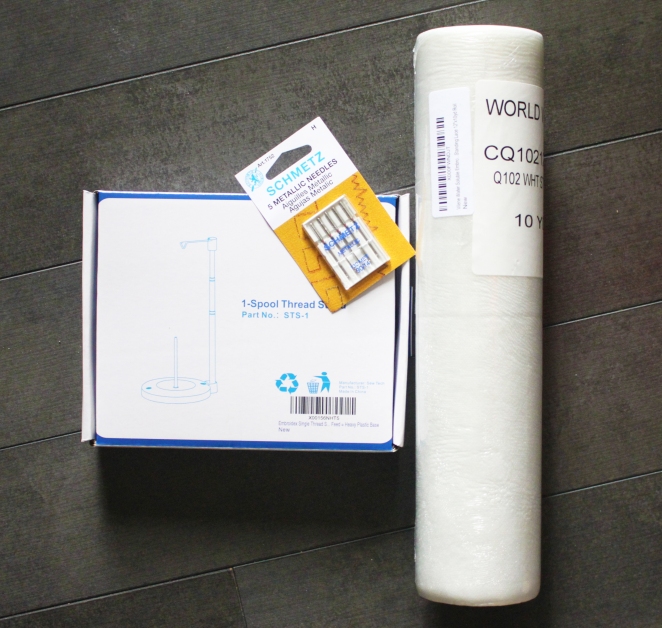
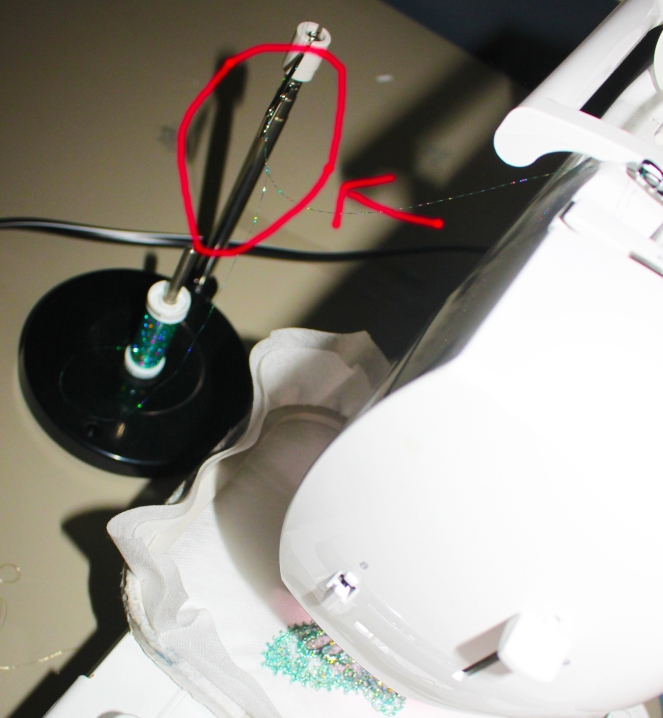
- Metallic Thread (See my tutorial on How to Embroider with Metallic Thread)
- Embroidery Thread
- Tea Party Photoshop Actions
- Edible Butterflies
- Gold Edible Hearts
- Pink Flame Candles
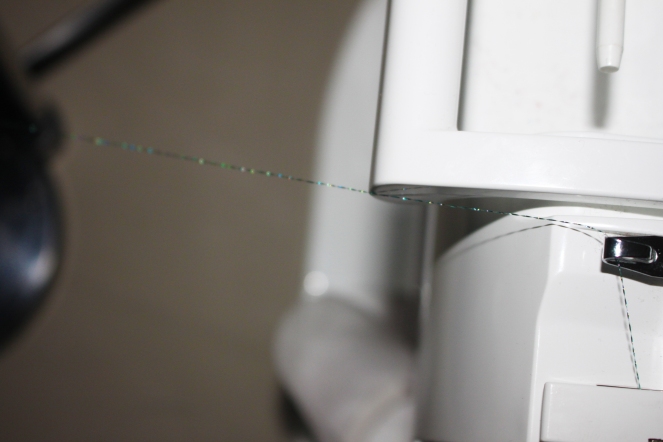
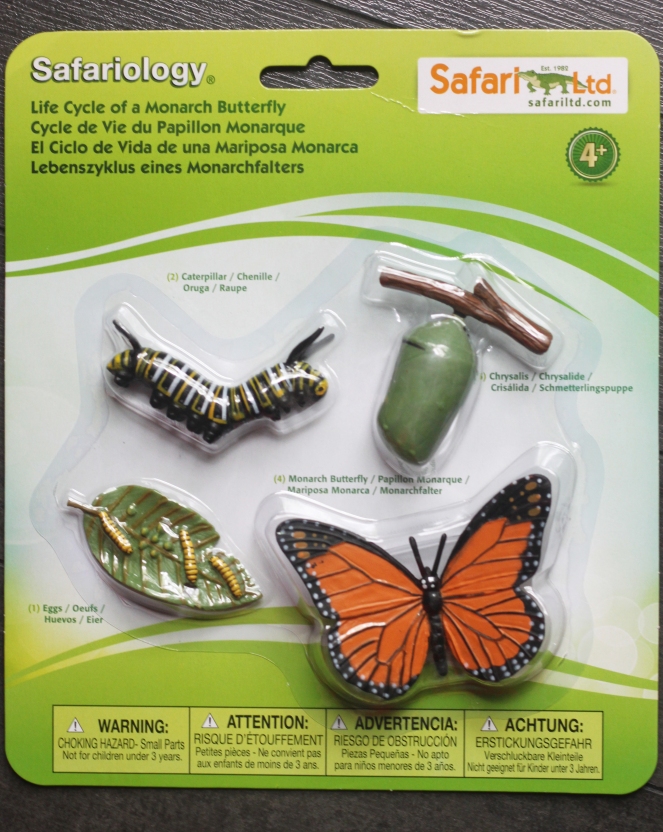
- Live Butterfly Kit